
Skip to content
Main Menu
About Us
Services
PLT Facilities
Facilities
Gas
Commercial Plumbing and Gas
Business Maintenance Plans
Commercial Catering
Commercial Heating & Plumbing Installations
Commercial Heating & Plumbing Repairs
Commercial Heating Services & Maintenance
Letting Agents & Property Managers
Plumbing
Radiators
Tap Replacement
Ball valve replacement
Bathroom Installations
Emergency Plumber
Heating Repairs
Legionella Risk Assessment
New Shower Installation
Outside Tap Installation
Powerflush
Toilet Repair
Unvented High Efficiency Cylinders
Exterior Cleaning
Patio Cleaning
Gutter Cleaning
Roof Cleaning
Driveway Cleaning and Sealing
Block Paving Cleaning
Stone Cleaning
Brick Cleaning
Render Cleaning
Graffiti Removal
PLT Roofing
PLT Drainage
Commercial Drainage
Domestic Drainage
Drain Pipe CCTV Surveys
Drain Repairs
High Pressure Water Jetting
Cleaning Unblocking
Surface Cleaning
Picote Drain Cleaning & Cutting
Drain Excavation
Drain Maintenance
Drain pipe lining and patch repairs
Emergency Drain Services
Gully Cleaning
Drain Root Removal
Drain De-scaling
Leak Detection Service
Drain Tracing
Residential Care Home Drainage
Letting Agents Landlords
Schools, Colleges & University Drainage Services
Hotel Drainage
Restaurants, Pubs & Cafes
Retail Drainage
PLT Mechanical
Contact Us
Get in Touch
Boiler Photo Survey
Examples
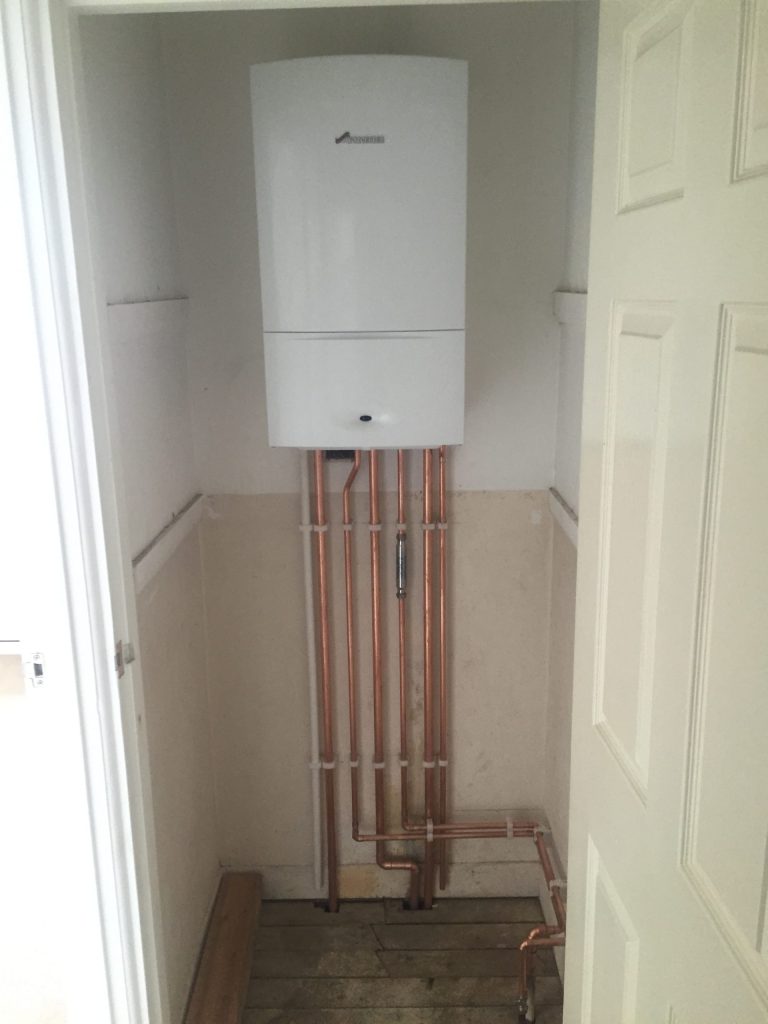
1. The boiler including any pipework
Include any pipework above or below the boiler
Do not zoom in very close
Show any obstructions in front of the boiler
Stand far enough away to show the whole boiler
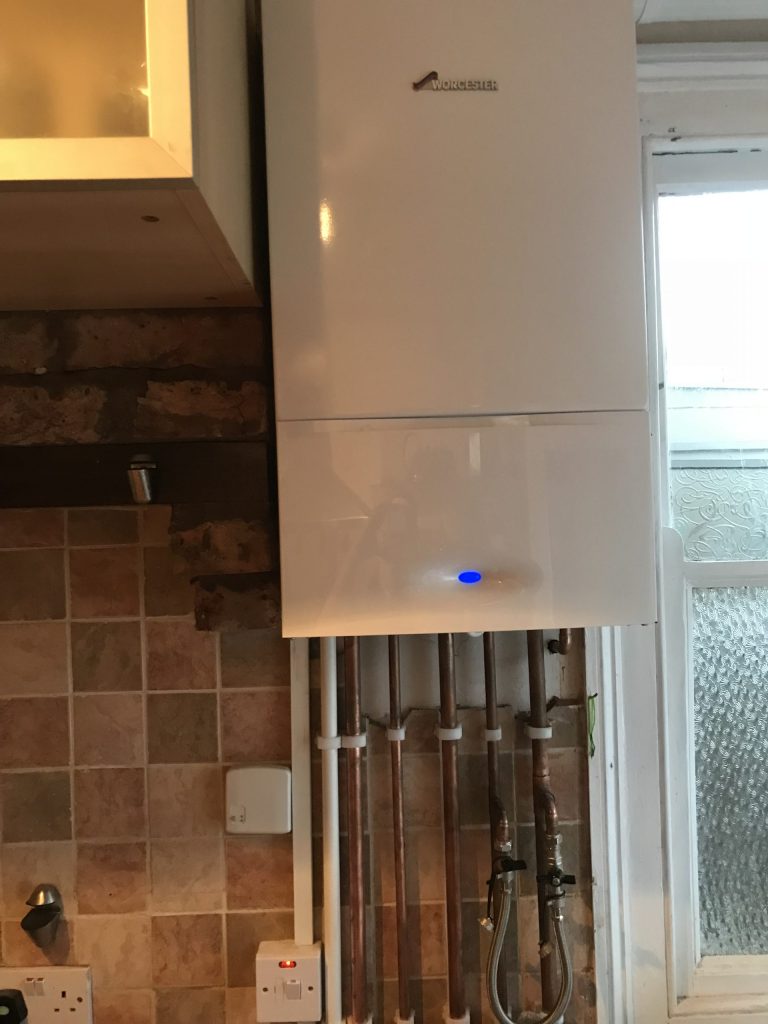
2. Pipes underneath or above your boiler
Stand approximately 1 meter away
Include any boxing that the pipes go into
Try to show where the pipes connect to the boiler
Do not zoom in too close
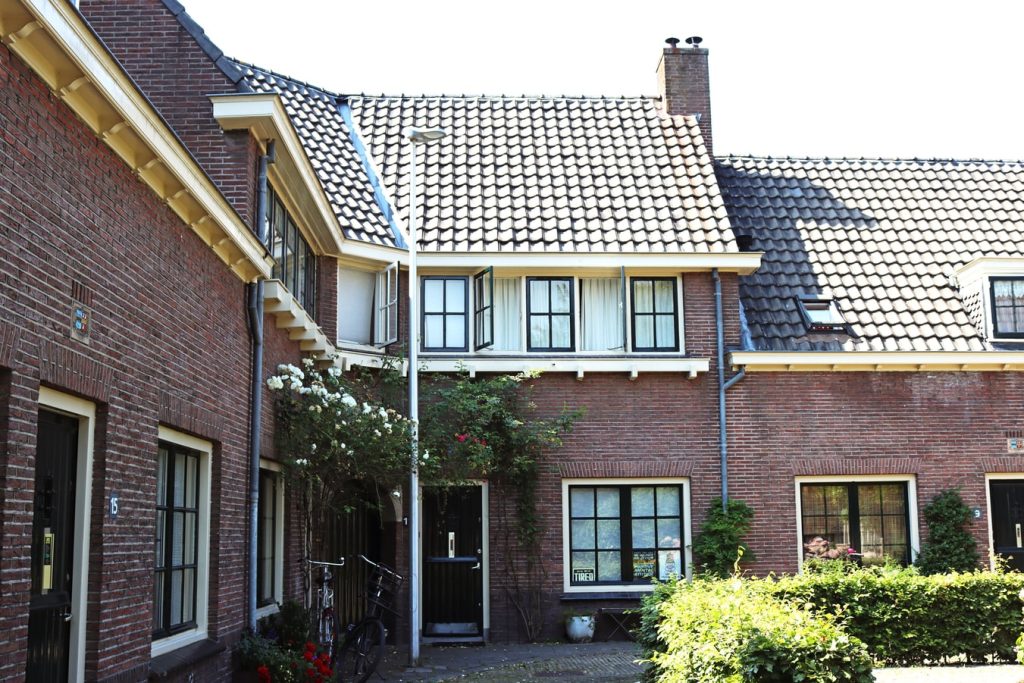
3. The front of your property
Take the photo from the front of the property
A clear view with nothing in the way
Make sure the whole house is in view
4. Your flue exit
Stand far enough away to capture the area surrounding your flue and any boundaries e.g. a wall or fence.
If your flue exits through the roof stand far enough away to capture the ground and surrounding area.
Try to capture the flue as well as the ground so we are able to see the access to the flue pipes.
Avoid taken a zoomed in picture of just the flue exit.
5. The gas meter
Stand roughly a meter away from the gas meter
Use flash if required
Ensure the meter box/casing is open and on view
Include any pipework nearby the meter
Do not just take a photo of the meter readings
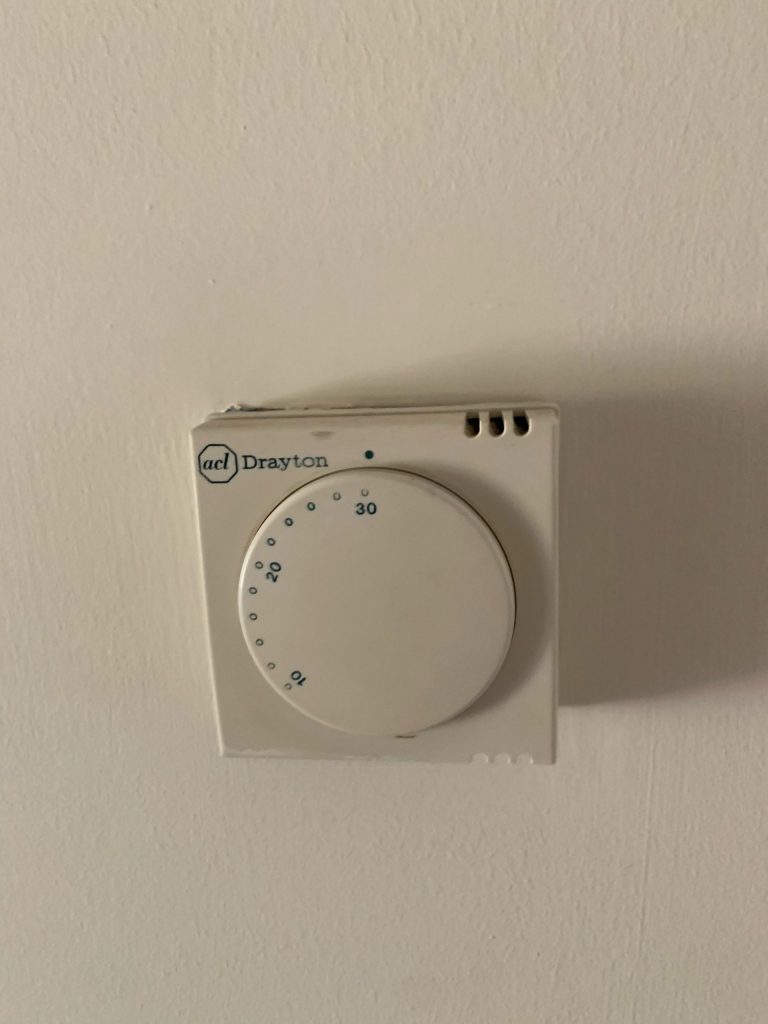
6. Your existing control
Make sure that whole controls are in view
Take the photo from the front
Ensure the photo is clear and in focus
Use your flash if needed
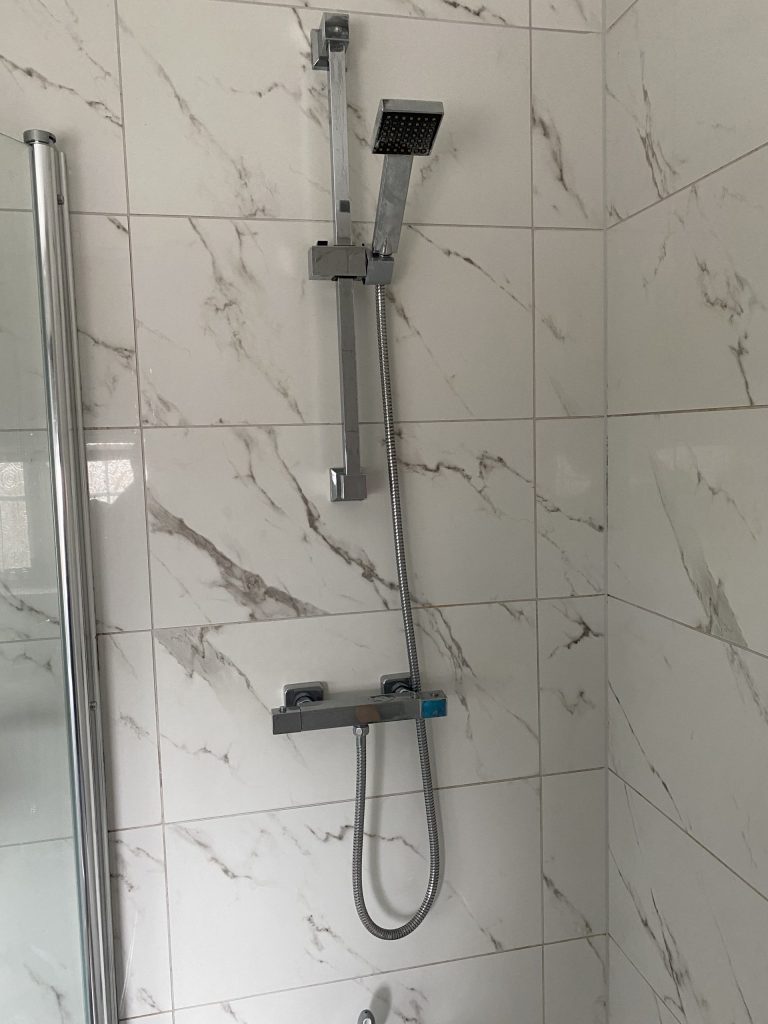
7. One photo for each shower
Stand roughly a meter away from the shower
Use flash if required
Clear with nothing in the way
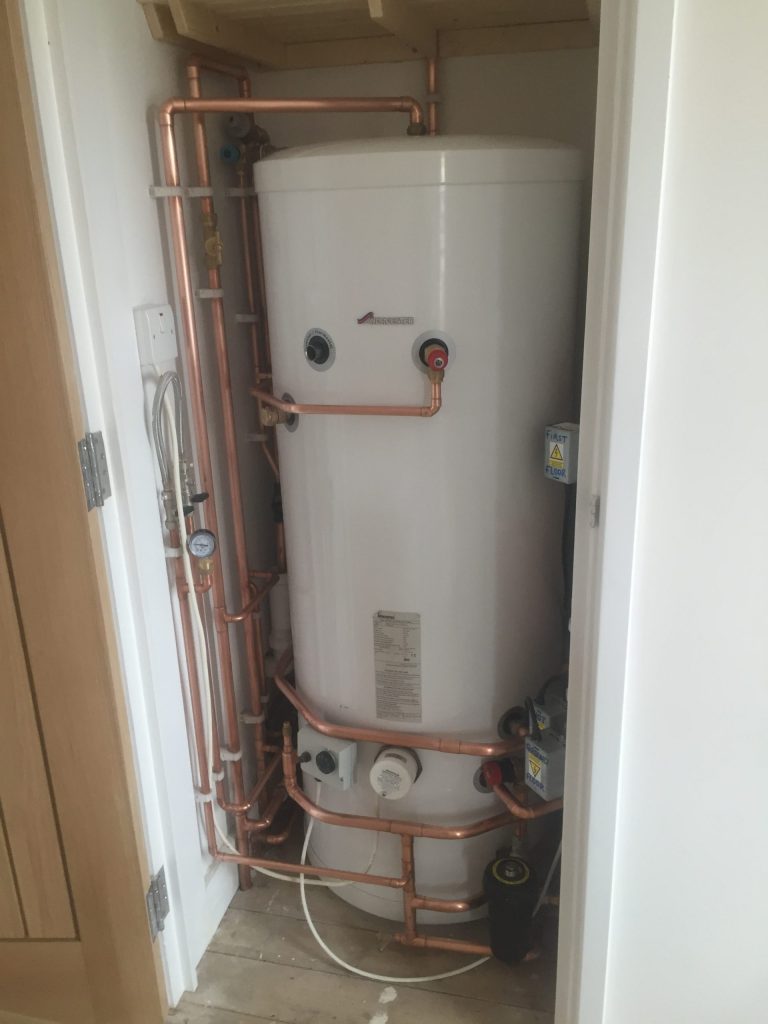
8. The airing cupboard
Make sure the whole cupboard is in view
Make sure to use a flash if taking a photo in a dark area
Ensure a clear photo of the cylinder/tank with shelves cleared
Include any pumps and valves that are located near the cylinder.